

How To Make A Black And White Picture Color Photoshop
I of Adobe Photoshop's best features is the power information technology gives y'all to colorize black and white photographs. With Photoshop you tin can add color to the entire photo, or merely "paint" i part of the image to create a focal point—it'due south upwardly to you.
Sound interesting? Then read through the following step past step instructions. It doesn't matter if you're a Photoshop novice or practiced, within minutes yous'll be able to use this essential Photoshop technique to bring your black and white photos to life.
Quick declaration - EmptyEasel has created a quicker, easier way for artists to have their own art website. Click here to learn more than and get a simple fine art website of your own!
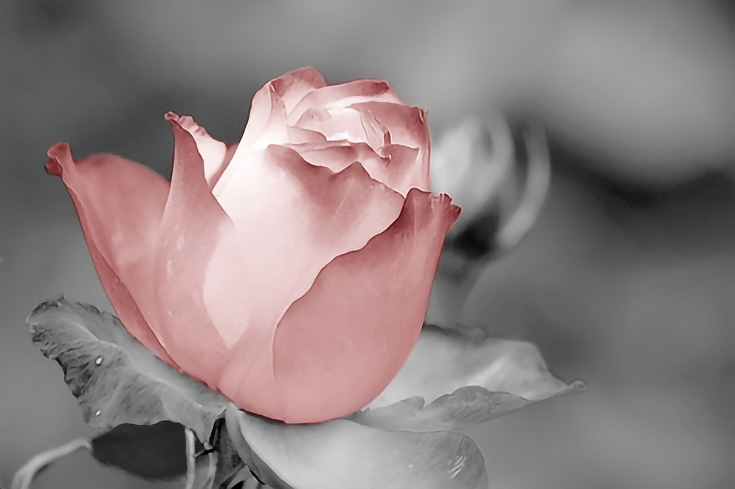
Adding color to a blackness and white photo
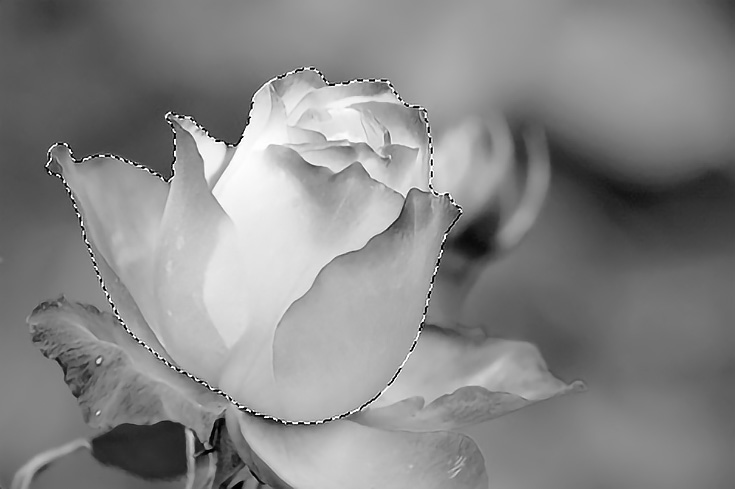
Outset, open up the image you want to colorize—preferably a black and white image with a adept range of values from darkest blackness to pure white.

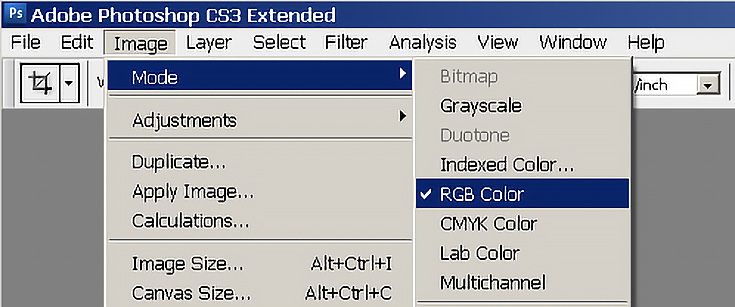
Next, go to Image >> Mode and make sure that RGB is selected. This will permit you to use the most vibrant colors possible.
At present it's time to select the area of your photograph that you lot'd similar to colour—I'll walk you through the pick method that I prefer.
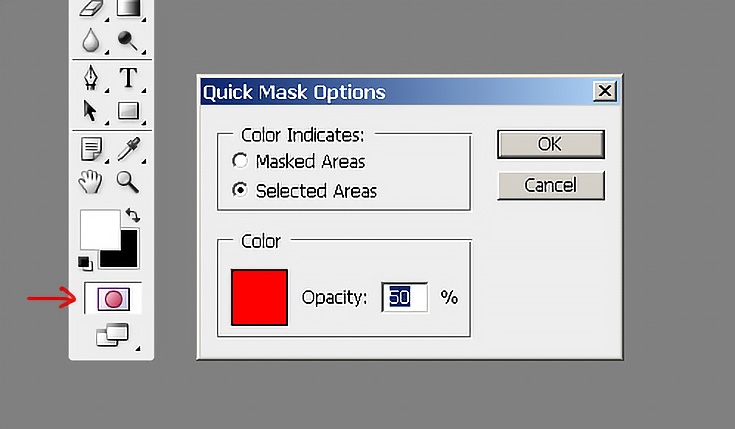
Double-click the Quick Mask push button nigh the base of operations of your toolbar to bring up the Quick Mask options. Under "Color Indicates" choose "Selected Areas" and press OK.
At this bespeak y'all'll also be in Quick Mask mode, although it won't look any unlike at get-go. Choose the Paintbrush from your toolbar and start painting over the expanse that yous've decided to add some color to.
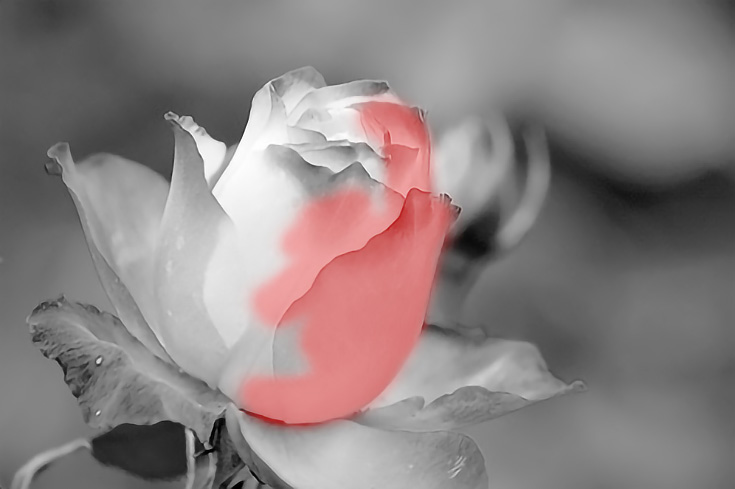
Don't worry, y'all're not really coloring annihilation yet—this portion will just appear to be red and so yous tin can come across the area you're selecting.
After completely roofing the chosen surface area. . .
. . .click on the Quick Mask button again. This will volition put you back to Normal mode. You'll notice that the area which y'all but filled in with color is at present selected.
Pause for a moment and relieve the selected surface area for later utilize (or in instance you brand a mistake). Do this by going to Select >> Save Pick.
OK, it's time to finally add some color to your selection. Click on Layer >> New Adjustment Layer >> Colour Residuum.
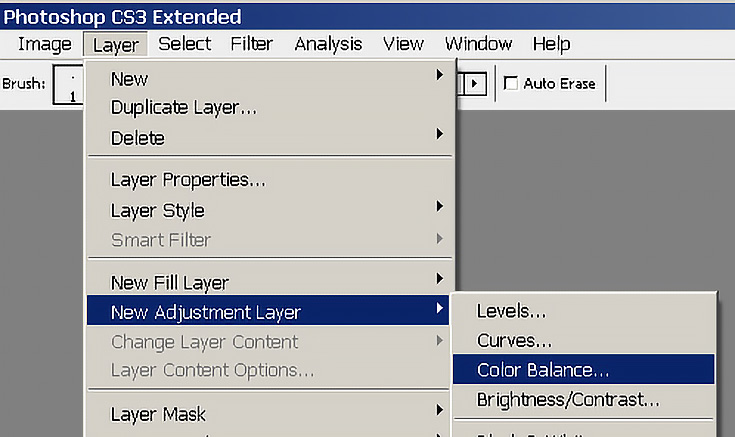
Click OK on the first dialog box, and the following color sliders will announced.
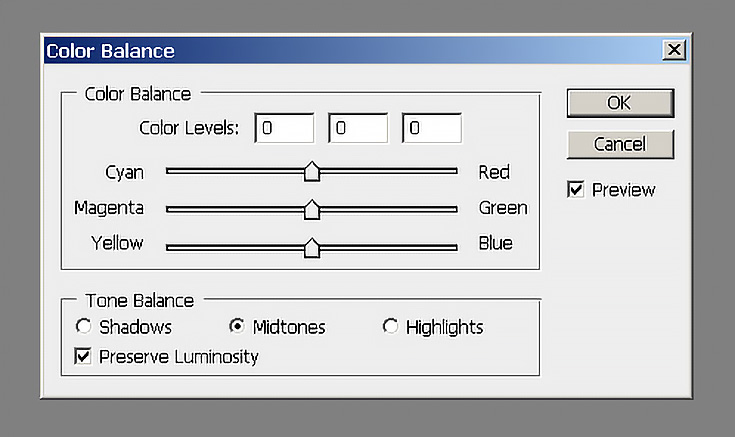
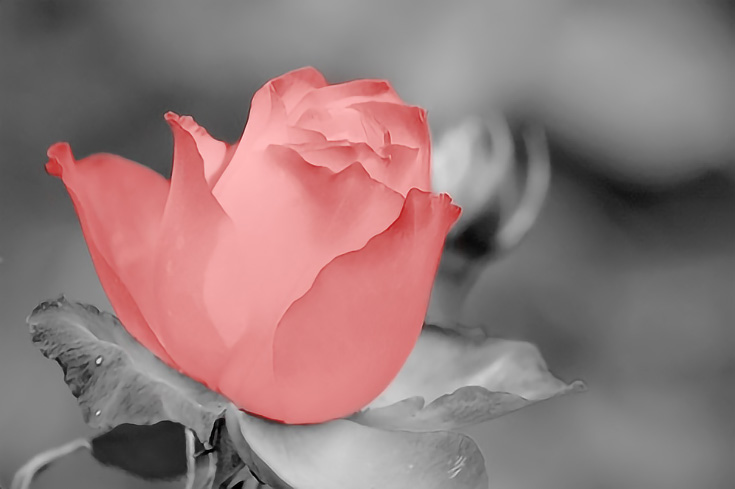
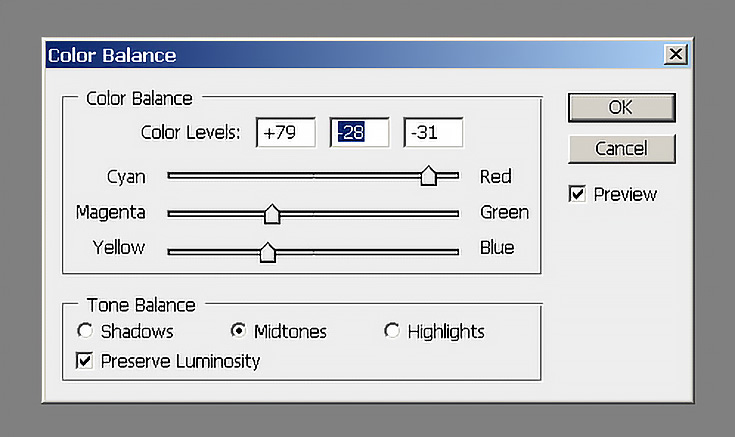
Put a checkmark in the preview box and accommodate the color sliders until y'all become a colour you like for the selected area. Then click OK.
If there are other areas that y'all want to colorize, just repeat the previous steps again on a new section. That's all there is to it!
Final photograph-coloring advice
It will take some trial and error to get your photo looking exactly the way yous want information technology to. Using Quick Mask to select the areas will require some practice besides.
You might find yourself changing the Color Balance sliders for each area again and over again—that's considering even when you think yous take the colors right where you want them, they take a way of looking a lot different when the whole photo is colorized. Merely continue tweaking the sliders until yous get the balance you're looking for.
Remember to salve! Always!
Relieve the original picture before you begin. Save every selection as you make it in Quick Mask mode. And save your project later you colorize each section. It's a existent pain to go back and re-do past sections of the photograph just because y'all've messed up somewhere down the line.
Kaitlyn Miller writes for Printplace.com, an online press company that offers postcard press, business cards, posters and more.
![]()
NOTE: You may also exist interested in EE's step-by-step cartoon guide for artists. Click beneath to larn more!
This post may incorporate affiliate links.
Source: https://emptyeasel.com/2008/04/29/how-to-add-color-to-black-and-white-photos-in-photoshop/
Posted by: huntleyalesturbeack.blogspot.com
0 Response to "How To Make A Black And White Picture Color Photoshop"
Post a Comment